


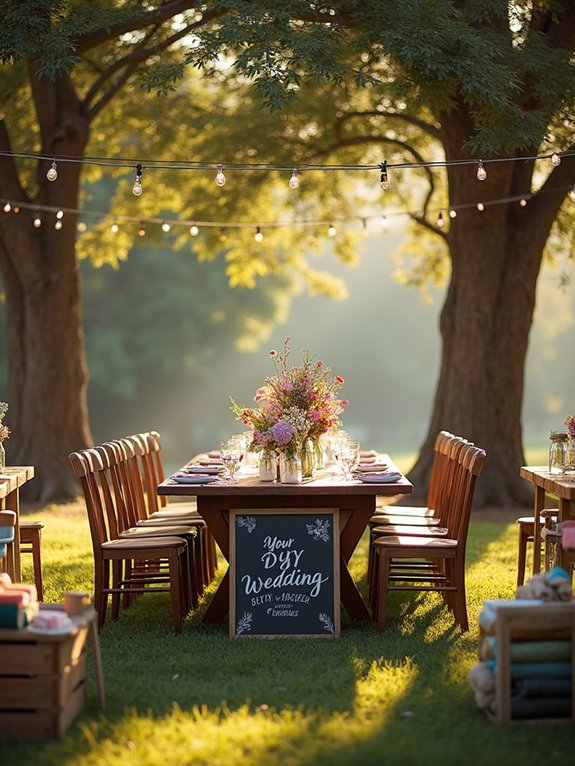
Your DIY Wedding Decor Master Plan in 7 Days
You can totally create your DIY wedding decor in just seven days! Start by setting your vision and budget, then choose a color palette that makes you smile. Curate an inspiration board filled with ideas and gather your materials. Document your journey with fun photos, and don’t forget those last-minute touches. If you hit a snag, just be creative and adapt. You’ll feel accomplished and proud of your work—stick around to learn even more tips to make it shine! Explore various simple wedding decor ideas that align with your theme, whether it’s rustic charm or modern elegance. Incorporating natural elements like greenery or DIY centerpieces can elevate your overall aesthetic without breaking the bank. Remember, the key is to personalize your decor so it reflects your unique love story.
Setting Your Wedding Decor Vision

Have you ever wondered how to create a wedding decor vision that truly captures your personality and style?
Well, let’s put that creative brain to work! Start with a vision board, where you can pin images that spark joy—think fairy lights, wildflowers, or even a disco ball if you’re feeling wild.
Next, consider your decor themes: boho-chic, vintage, or maybe something as invigorating as a pineapple party. Mix and match ideas, and don’t be afraid to let your quirks shine!
Remember, your wedding decor should scream “you” louder than a toddler on a sugar high.
Happy planning!
Creating a Budget for DIY Decor
Before diving into the fun of crafting your DIY wedding decor, it’s essential to pin down a budget that won’t leave you broke or regretting your life choices (yikes!).
Start by using some savvy DIY budgeting techniques, like tracking expenses on a spreadsheet—you’ll feel like a finance wizard! Set aside a realistic amount for each item, and don’t forget to include those surprise costs that pop up like uninvited guests.
Utilize cost-saving strategies, such as borrowing tools or recycling materials, and your wallet will thank you.
With a solid budget, you’ll craft decor that dazzles without drowning in debt!
Choosing Your Color Palette
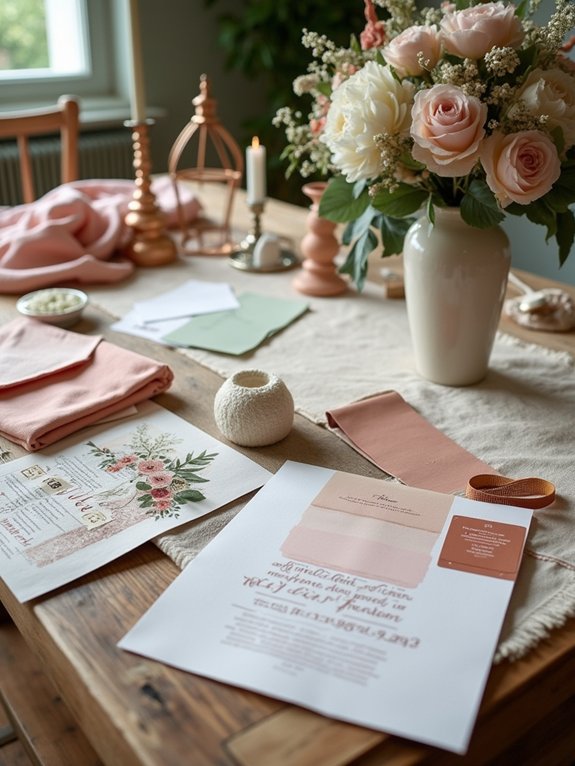
Once you’ve set a budget that sparks joy rather than stress, it’s time to think about colors!
Immerse yourself in color psychology—think about how hues can impact moods. Want everyone to feel happy? Go for yellows or greens. Feeling romantic? Soft pinks and reds will do the trick!
Now, consider seasonal trends; if it’s fall, let those rich oranges and browns shine. For spring, pastel perfection takes the cake!
Experimenting with combinations is key, so don’t be afraid to mix and match.
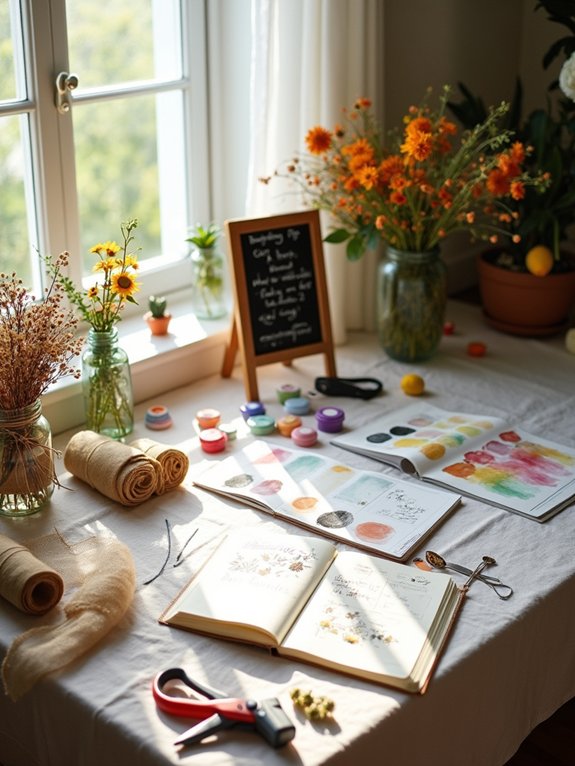
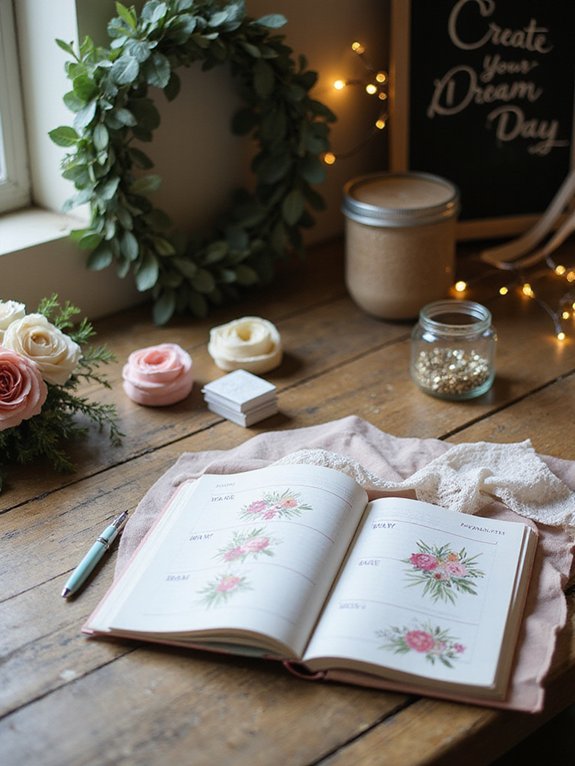
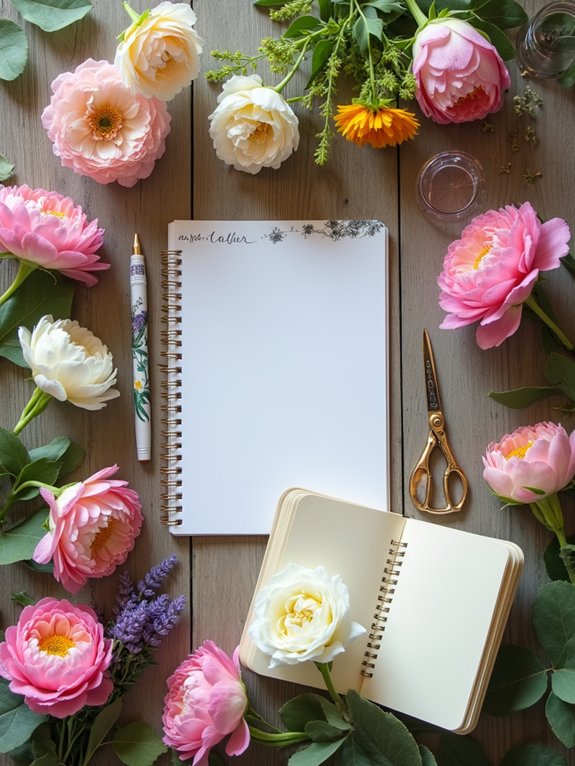
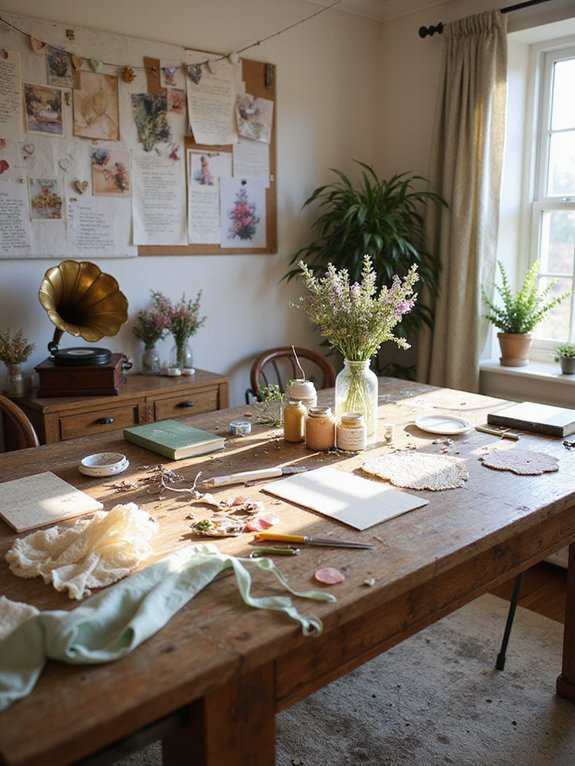
Curating a Decor Inspiration Board
As you plunge into the exciting world of wedding decor, starting your inspiration board can feel a bit like releasing your inner artist.
Grab some scissors, a stack of magazines, and your favorite snacks—it’s about to get creative! Check out different decor themes that make your heart sing. Think rustic chic or whimsical fairy tale!
Use inspiration sources like Pinterest, Instagram, and good old nature walks to gather images and ideas. Don’t forget to showcase what reflects your personality, too.
Your board is a fabulous playground where you can blend styles and envision your dream wedding. So, let the fun begin!
Making a List of Needed Materials
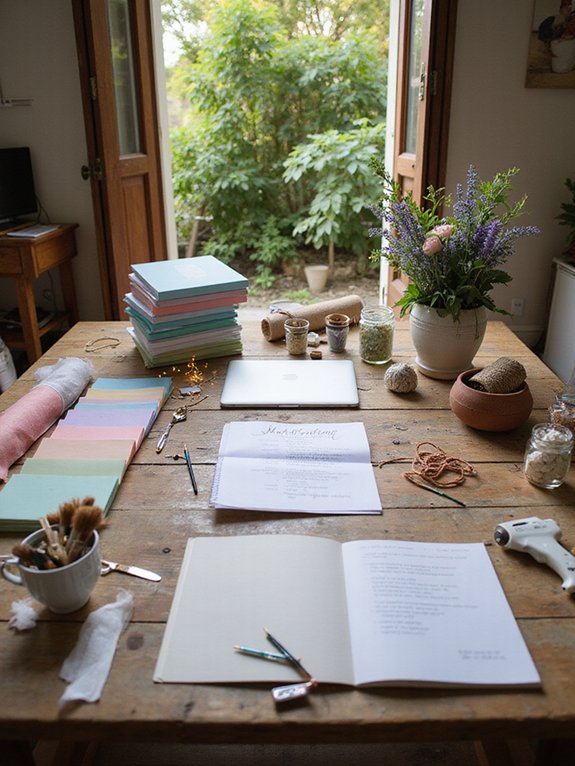
Creating your wedding decor doesn’t have to be overwhelming; in fact, it can be a thrilling adventure!
Start by jotting down a list of materials you need, which makes material sourcing feel less like a scavenger hunt. Think twinkly lights, fabric, or flowers—whatever fits your theme!
Don’t forget the tool essentials like scissors, glue guns, and maybe that trusty army of friends for some serious crafting power.
With a good list, you’ll avoid last-minute trips to the store when you realize you don’t have enough ribbon.
Week-By-Week Breakdown for DIY Projects
Planning your DIY wedding decor doesn’t have to feel like a race against time; instead, you can break it down into manageable steps that keep stress at bay!
Each week, focus on a specific DIY project aligned with the hottest DIY decor trends.
For Week 1, get crafty with centerpieces, and remember, creative sourcing can turn thrift store finds into treasures!
In Week 2, tackle your signs and table numbers—no one needs a sign saying “Overpriced Drinks!”
By Week 3, it’s all about the seating arrangements.
You’ll be ready for your fabulous day, one laugh-filled project at a time!
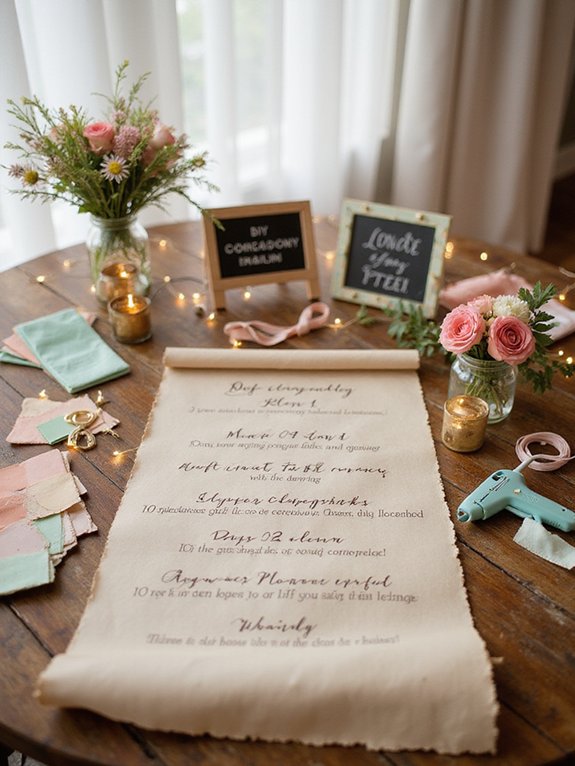
Day 1: Ceremony Backdrop Ideas
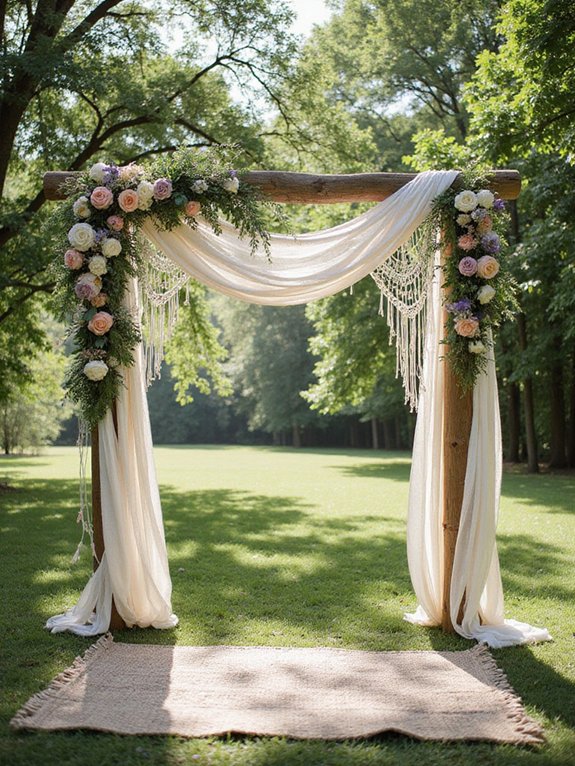
Your ceremony backdrop sets the stage for unforgettable moments, so let’s kick things off with some fun and unique ideas!
Imagine this: a floral arch that’s so stunning, even the groom will tear up! For rustic vibes, use wooden pallets or burlap, while elegant couples might fancy draped silk or sequined panels.
Think about your ceremony styles—modern, boho, or vintage can all shine with the right backdrop materials. You can even DIY a fabric wall with fairy lights to wow your guests!
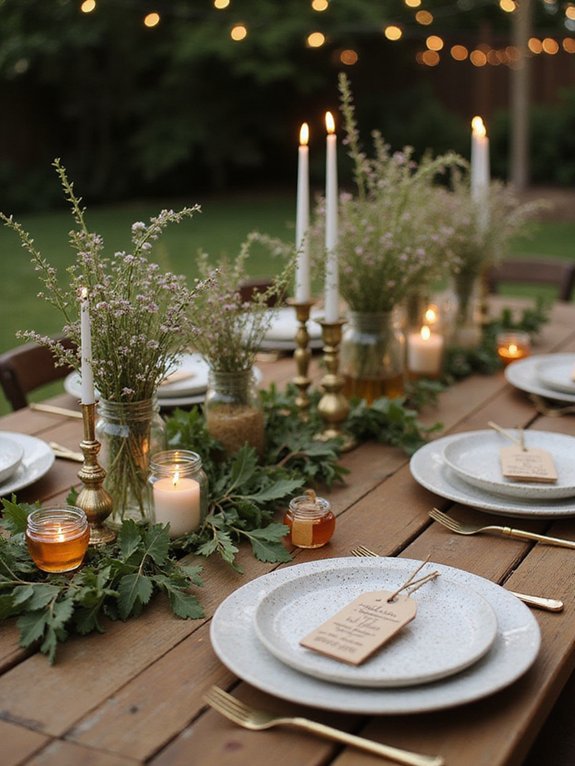
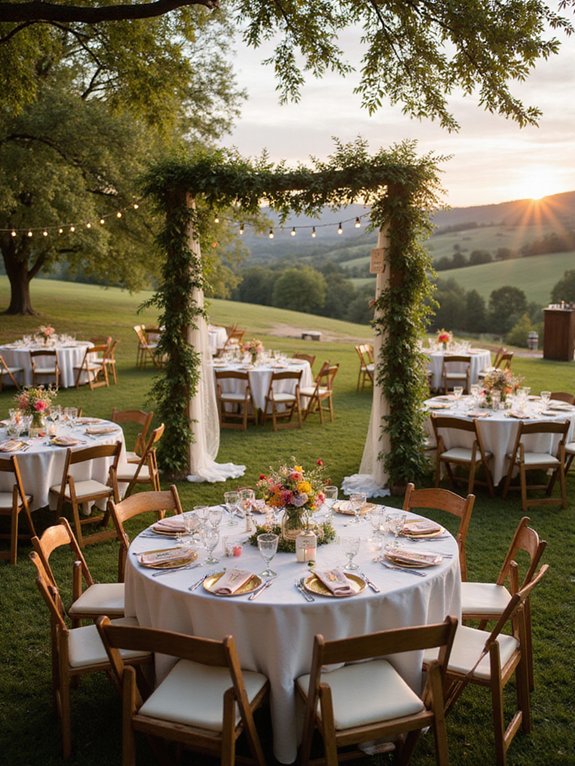
Day 2: Centerpieces for Reception Tables
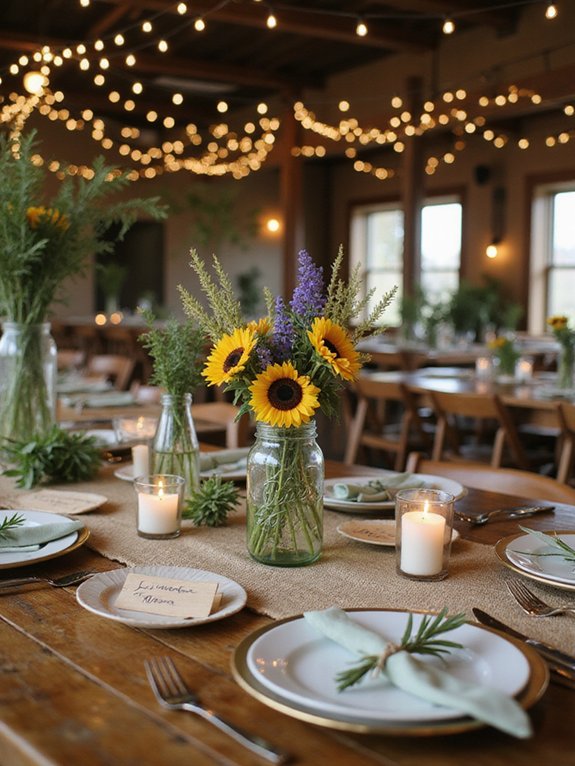
When you think about centerpieces for your reception tables, remember that they’re not just decorations; they’re conversation starters! You want floral arrangements that say, “Hey, look at me!” without shouting.
Think unique: maybe colorful vases, some rustic mason jars filled with wildflowers, or even quirky little succulents. Make sure your table settings complement these beauties, like linens that match or contrast nicely.
And if you’re feeling extra creative, add personalized touches, like tiny photo frames or fun trivia about you two. Trust me—your guests will chat about your centerpieces more than Aunt Mildred’s dance moves!
Go bold, have fun!
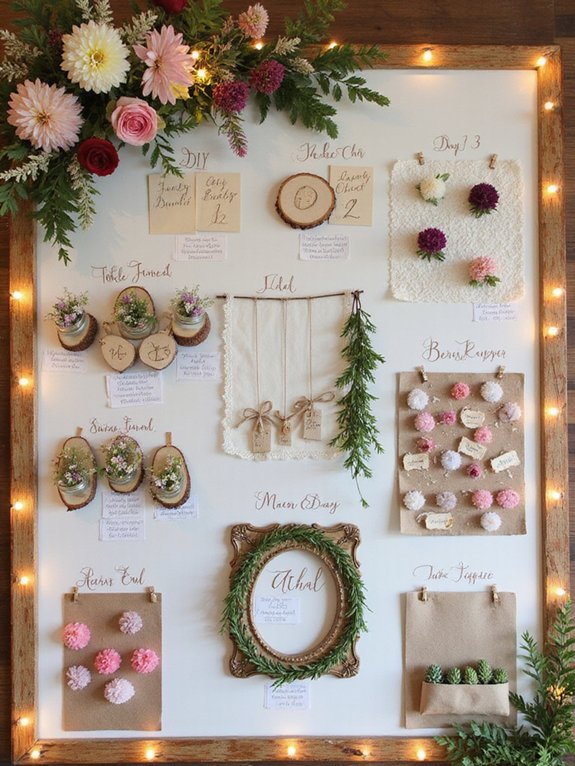
Day 3: Signs and Banners

While it might seem like the little details of your wedding decor aren’t that important, signs and banners can actually set the mood and guide your guests like trusted GPS.
Think about it: a whimsical handwritten sign pointing to the dance floor adds charm, while a decorative banner saying “Love Is in the Air” makes the celebration feel extra special.
Plus, who wouldn’t want to show off their calligraphy skills? Grab some wood or fabric, and let your creativity shine!
With just a little effort, you’ll turn those ordinary signs into fabulous conversation starters that keep your guests smiling.
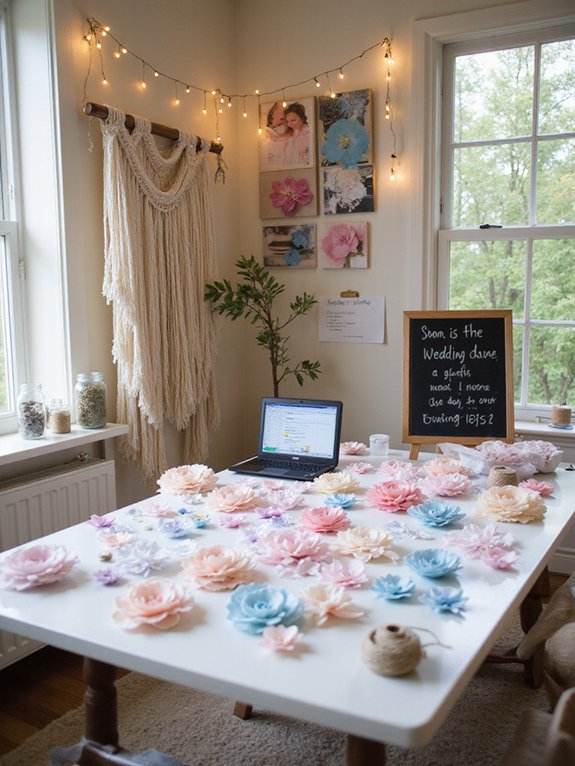
Day 4: Floral Arrangements
Floral arrangements can transform any space into a fairy tale wonderland, so let’s plunge into creating stunning displays that’ll leave your guests in awe.
First, pick your floral types—roses, lilies, or daisies, oh my!
Then, consider arrangement styles, like centerpieces or bouquets. Don’t be afraid to mix and match for a unique vibe.
Use various heights, and don’t forget some greenery; it’s like the sprinkles on your wedding cake!
Remember, if you accidentally create a Picasso instead of a bouquet, just call it “abstract art.”
Your wedding’s blooming beauty will have everyone buzzing with delight!
Day 5: Lighting Options
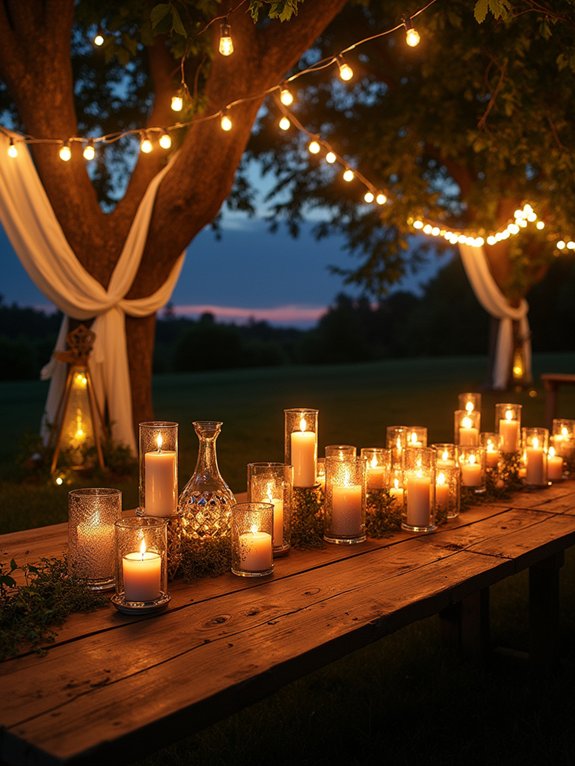
Creating the perfect ambiance for your wedding becomes much easier when you light it up with some creativity!
Think string lights that twinkle like the stars above, creating smiles instead of eye rolls from your guests. Don’t forget cozy candle displays—who doesn’t love the flicker of romance?
And those lantern arrangements? They’ll add charm and a touch of whimsy to your tables. If you’re feeling fancy, try uplighting techniques to wash your venue in beautiful colors, turning it into a magical scene that feels straight out of a fairy tale.
Get ready to light up your love story!
Day 6: Personal Touches and Favors
After you’ve set the mood with stunning lighting, it’s time to sprinkle in those personal touches that’ll make your wedding truly unforgettable!
Think about personalized gifts for your guests—little tokens they’ll actually cherish! You can create cute memory keepsakes, like photo frames filled with fun pics or custom magnets of your best moments together.
Add a personal touch by writing heartfelt notes to accompany each gift; it’s like giving a warm hug! Your guests won’t just remember the cake but the laughter and love behind these thoughtful favors.
Day 7: Final Assembly and Setup
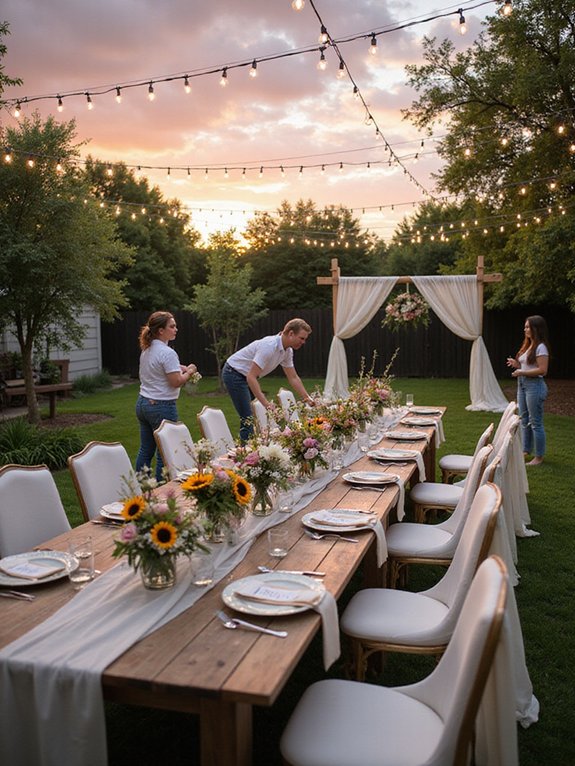
Once you’ve gathered all your beautiful decor and heartfelt favors, it’s time to roll up your sleeves and engage in the final assembly and setup!
Grab your final checklist—it’s like the pre-party pep talk you’ve been waiting for! Start tackling setup logistics, putting everything in its perfect spot, and don’t forget those romantic candles to set the mood (fire safety first, though!).
While you arrange tables, remember to channel your inner wedding planner; if something’s a bit off, just smile and say it’s “bohemian chic”!
Once everything’s ready, stand back, sip some bubbly, and bask in your do-it-yourself glory!
Tips for Efficient DIY Execution
When you plunge into the world of DIY wedding decor, remembering a few smart strategies can make all the difference.
Start with efficient planning: list your projects, gather supplies early, and consider what could go wrong (spoiler alert: something always does!).
Time management is your best friend—set deadlines for each task, and stick to them like you’d to a slice of cake at a wedding (because let’s be real, it’s hard to resist).
Finally, don’t forget to celebrate small victories; after all, you’re crafting a magical day, and who doesn’t love a good excuse for confetti?
Involving Friends and Family in the Process
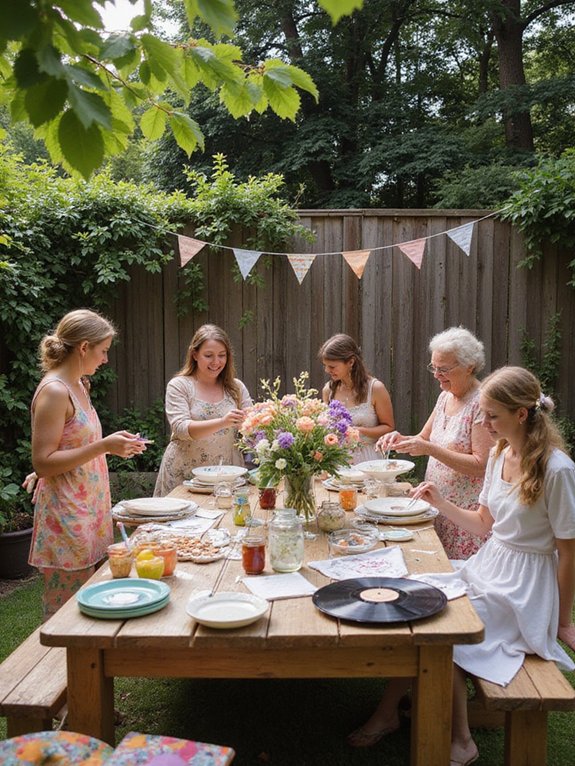
Getting your friends and family involved in the wedding decor fun can make the whole experience more enjoyable and memorable. Think of it as team brainstorming, but with snacks!
Assign creative roles like “Chief Glitter Officer” or “Flower Arrangement Ninja” to keep things lively. You’ll be amazed at the ideas they bring, even if Grandma insists on twinkling lights everywhere!
Plus, working together allows for laughs and maybe a few friendly debates about colors. Trust us, having your pals and family engage in the DIY chaos takes the stress down and the fun up. Let the good times—and the decor—roll!
Timing and Scheduling for Decor Setup
To guarantee your wedding decor comes together smoothly, it’s essential to map out a timeline for setup that keeps everyone on the same page—and maybe even a little less stressed!
First, create a list of tasks and assign them to your enthusiastic helpers. Remember, some timeline flexibility is key; things mightn’t go exactly as planned.
Factor in setup logistics, like where your decor will go and how much time each task takes.
Keep everyone fed and caffeinated—grumpy decorators aren’t much fun!
With laughter and teamwork, you’ll transform chaos into a picturesque wedding day that shines.
You’ve got this!
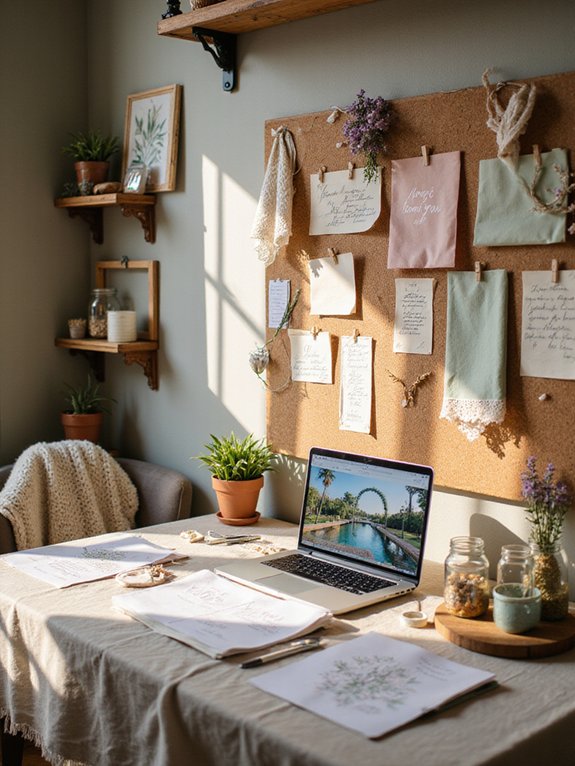
Documenting Your DIY Journey
How do you capture all those memorable moments while bringing your DIY wedding decor to life? Easy! Start photographing progress like a pro, even if it’s just your cat knocking over a vase.
Document your journey with snapshots of funny mishaps and triumphs—like that time you accidentally glued your fingers together (don’t worry, it happens to the best of us!).
Share those stories with friends; they’ll appreciate the laughs and insights. Plus, you’ll forever remember the chaos and creativity.
Celebrate every little detail, because you’re not just crafting decor, you’re crafting memories that’ll last a lifetime and provide great awkward conversation starters!
Last-Minute Touches to Consider
As you approach the final days before your big wedding, it’s easy to overlook the small but impactful touches that can elevate your DIY decor from charming to absolutely unforgettable.
Now’s the time for final color adjustments—because let’s be honest, nobody wants surprise neon pink in the photos!
Think cozy candles, a few playful signs, or fresh flowers that won’t spontaneously wilt.
Don’t forget those last-minute purchases, either; a quirky vase or fun table confetti can be just the sprinkle of magic you need.
Addressing Common DIY Challenges
Even when you’re excitedly crafting your dream wedding decor, unexpected challenges can pop up like surprise guests at a party!
Maybe that glittery centerpiece didn’t turn out, or your budget’s screaming for help. First, breathe—DIY setbacks happen!
For quick solutions, consider repurposing items you already own or team up with friends for a decor night; laughter’s included at no extra cost.
When it comes to budget adjustment tips, prioritize what truly matters. That way, you won’t spend a fortune on something that’ll be covered by cake crumbs anyway.
With a little creativity, you’ll conquer those challenges like a pro!
Celebrating Your DIY Accomplishments
Once you’ve tackled those DIY projects and transformed your ideas into beautiful reality, it’s time to celebrate your victories!
You’ve earned a victory dance, and maybe a slice of wedding cake (or two)! Grab a friend and take a moment to reflect on your creations.
Each item represents late nights, glue gun burns, and a whole lot of love.
Celebrating milestones—like finally figuring out how to tie that impossible bow—adds a pinch of joy to the journey.
So, pop the confetti, take selfies with your masterpieces, and share your triumphs!
You did it, and that deserves a big round of applause!
Frequently Asked Questions
What Should I Do With Leftover Materials After the Wedding?
After the wedding, you can repurpose items into quirky home decor or fun gifts. If you’re feeling generous, check out donation options; just think of it as spreading love, one leftover at a time!
Can I Reuse Decorations From My Wedding for Another Event?
Your wedding decor’s like fine wine—it gets better with age. Reuse it for future events and watch your friends marvel at your thrifty brilliance, all while you save cash for your next adventure!
How Do I Properly Dispose of DIY Decor Materials?
To properly dispose of your DIY decor materials, check for recycling options first. If that doesn’t work, get creative with eco-friendly disposal—think plant pots or quirky art pieces! Make Mother Earth smile while keeping things fun!
What if I Run Out of Time to Complete All Projects?
If you run out of time, just prioritize! Focus on the projects that matter most—your guests won’t notice the absence of that macaroni centerpiece. Time management’s your friend; embrace it like a chaotic wedding dance!
How Can I Store Decorations for Future Use or Keepsakes?
You can use stackable bins for neat storage solutions; label ‘em to avoid future display disasters. Toss in whimsy, like old wedding cake toppers—because who wouldn’t want a ninja figurine at their next party?
Conclusion
In just seven days, you can transform your wedding decor dreams from a distant wish into a stunning reality. It’s amazing to think that with a little creativity and effort, you can go from feeling overwhelmed to being proud of your DIY accomplishments. Sure, there might be bumps along the way, but those little hiccups make your story even more special. So roll up those sleeves, have fun, and let your love shine through every handmade detail!


