
8 Cheap Halloween Decorations For A Budget-friendly Party
You want your Halloween party to look incredible without summoning a terrifying credit card bill, right? Good news: you don’t need a fog machine, a designer backdrop, or a pumpkin carving degree. With a few cheap supplies and a little creativity, you can turn your place into a spooky vibe factory.
Let’s get you set up with eight clever decorations that look expensive but cost next to nothing.
1) Trash Bag “Rags” and Fabric Shreds

Forget pricey gauze. Grab a roll of black trash bags or a dollar-store plastic tablecloth and make your own creepy draping. Cut long strips, stretch them, and rough up the edges.
Hang them over doorways, curtain rods, mirrors, or porch railings.
- Cost: $1–$3
- Time: 15–20 minutes
- Pro tip: Layer black over white for contrast. Instant haunted manor.
Where to Use Them
– Entryway: Frame your door so guests walk through fluttery “rags.” – Photo corner: Drape behind a chair for an easy photo booth backdrop. – Lighting trick: Aim a small lamp behind the shreds to cast jagged shadows. Spooky, but make it budget.
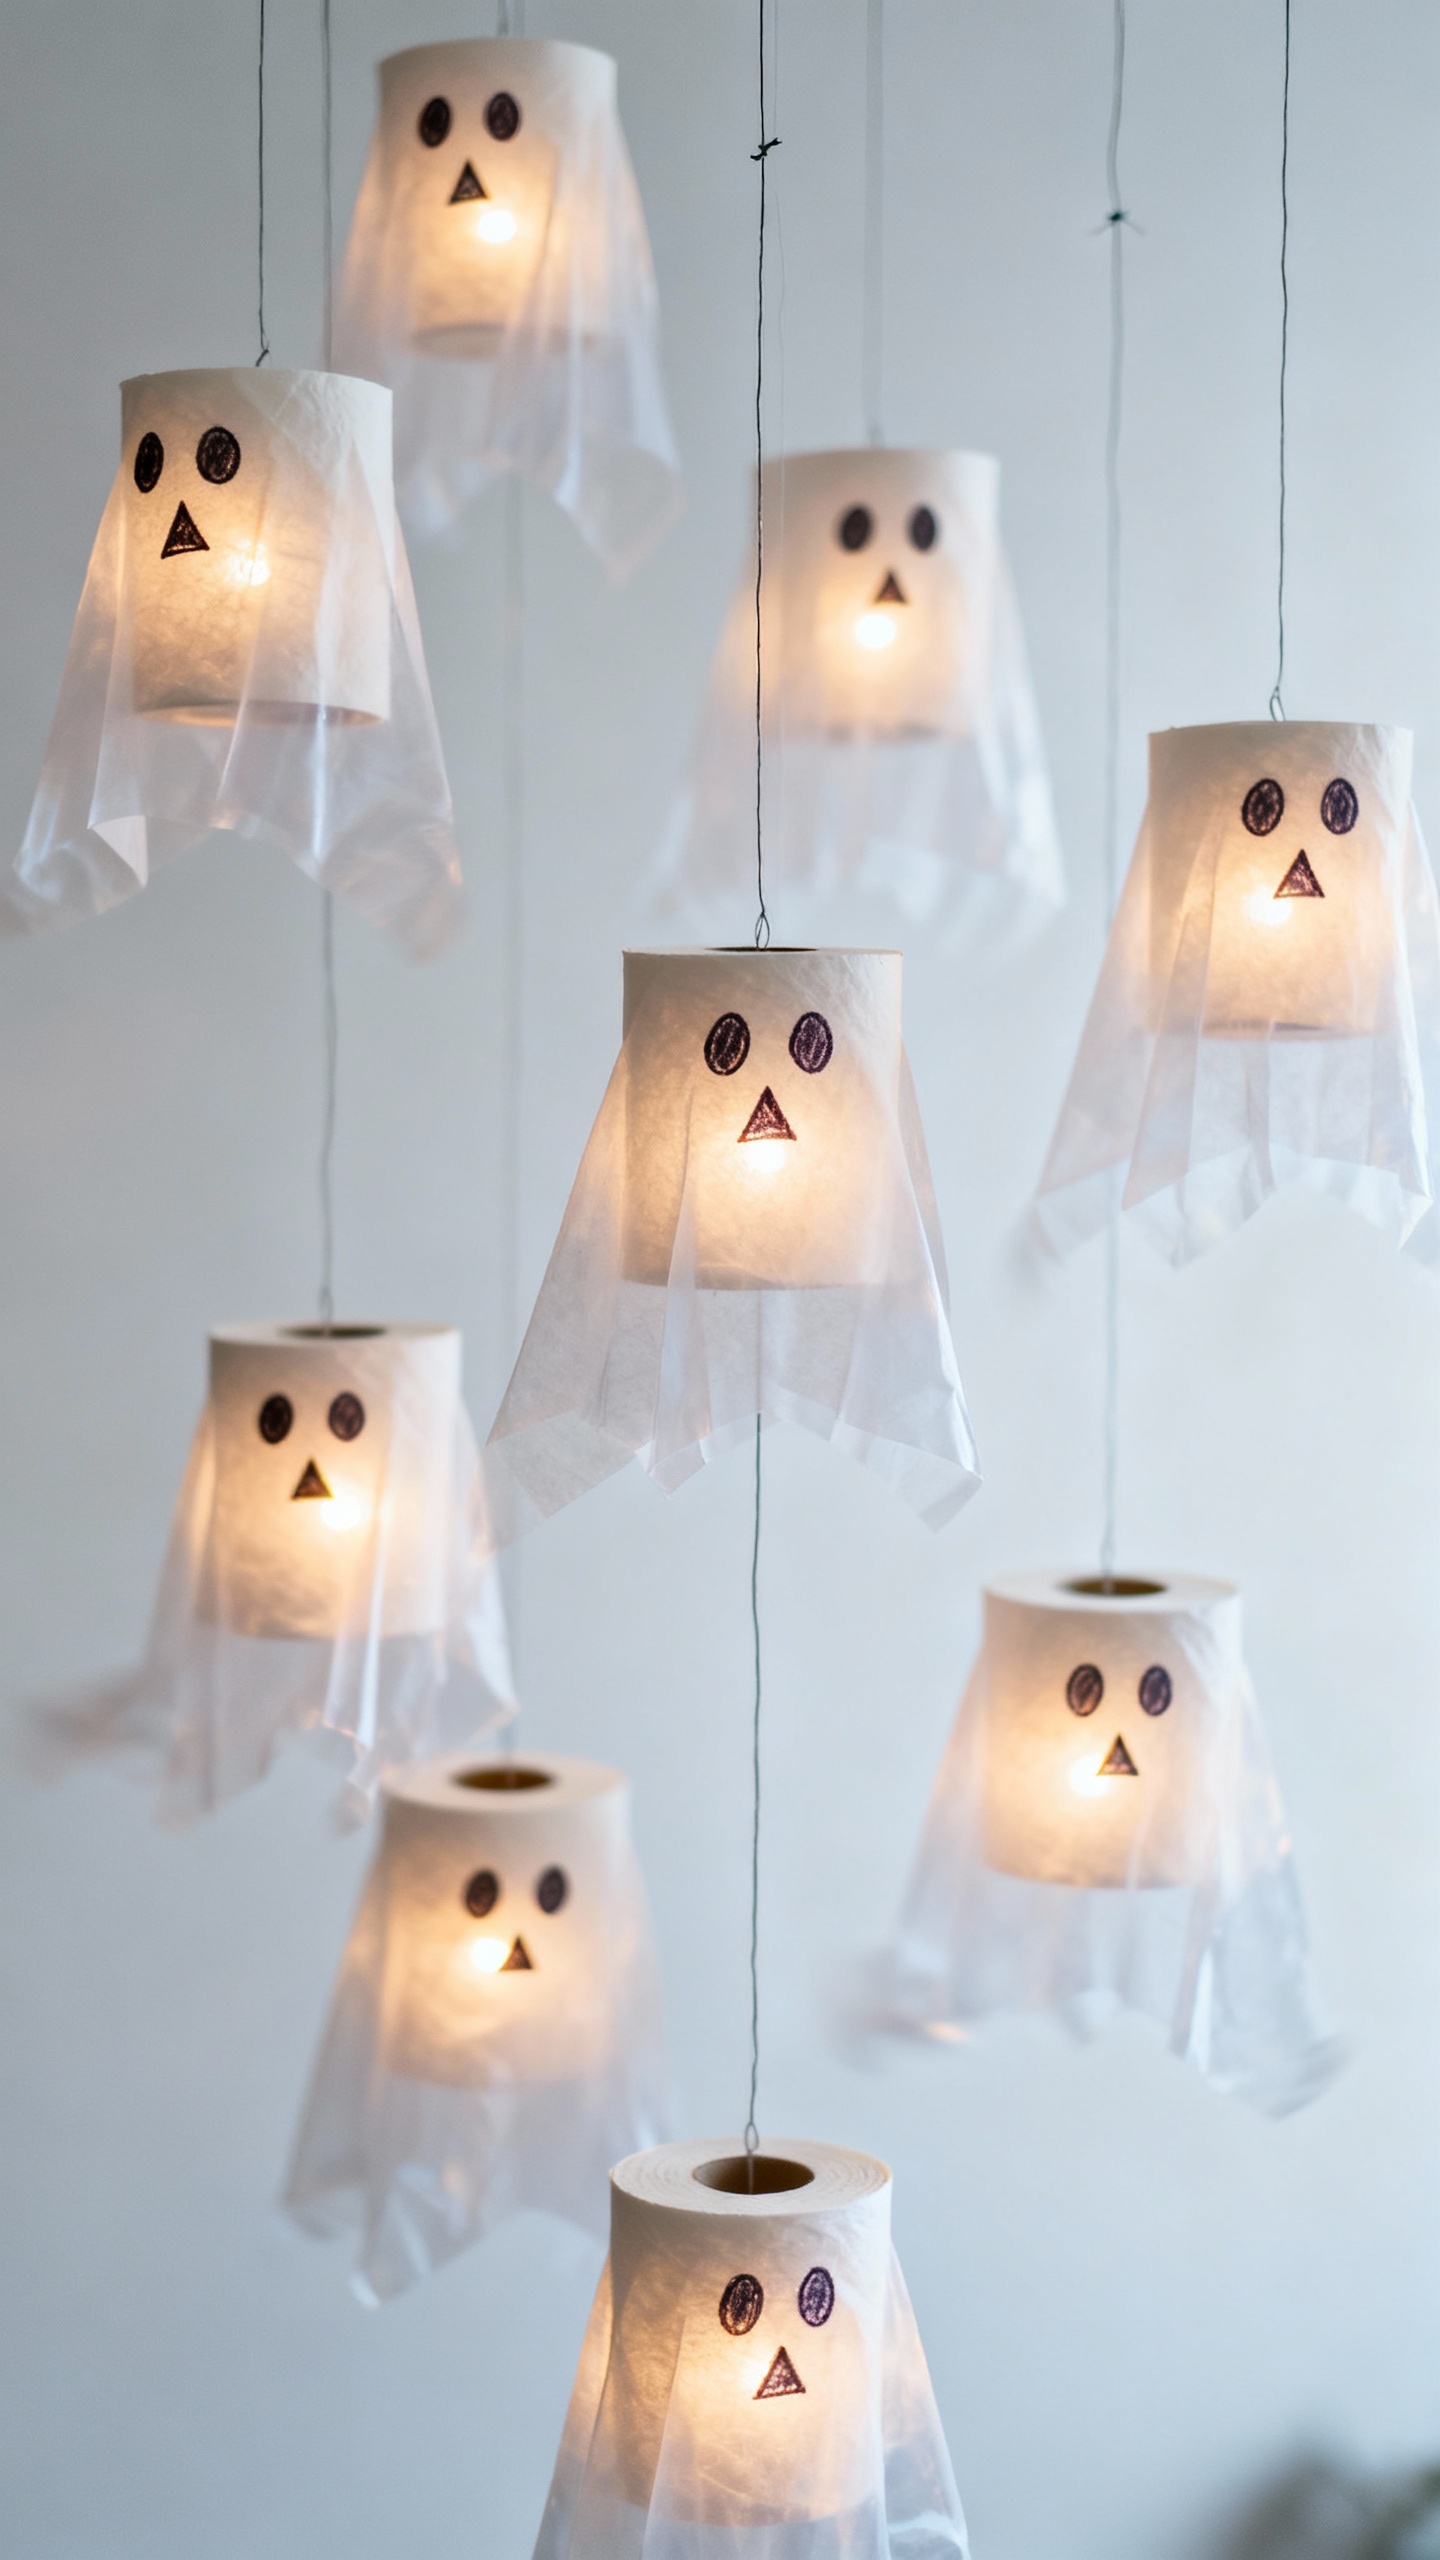
2) Toilet Paper and Cheesecloth Ghosts
Yes, toilet paper.
Don’t judge it until you see it hanging. For tiny floating ghosts, ball up napkins or tissue as a “head,” cover with toilet paper or cheap cheesecloth, tie with string, and draw little faces with a marker. Suspend from fishing line so they look weightless.
- Cost: $2–$5
- Time: 20 minutes for a whole ghost crew
- Looks best: In clusters at different heights
Upgrade Options
– Add a tea light inside (LED only, obviously) for a subtle glow. – Use a balloon + wire hanger frame for one larger “centerpiece” ghost.
3) Painter’s Tape and Yarn Spiderwebs
You can spin webs faster than any spider.
Use white painter’s tape or yarn to create big web shapes across a wall or window. Start with a few radiating lines, then connect them with curved strands.
- Cost: $1–$4
- Time: 15 minutes per web
- Why it works: Big visual impact with almost no materials
Add Creepy Crawlers
– Stick on plastic spiders (a bag usually costs a buck or two). – Don’t go symmetrical—imperfect lines look more organic and ominous.
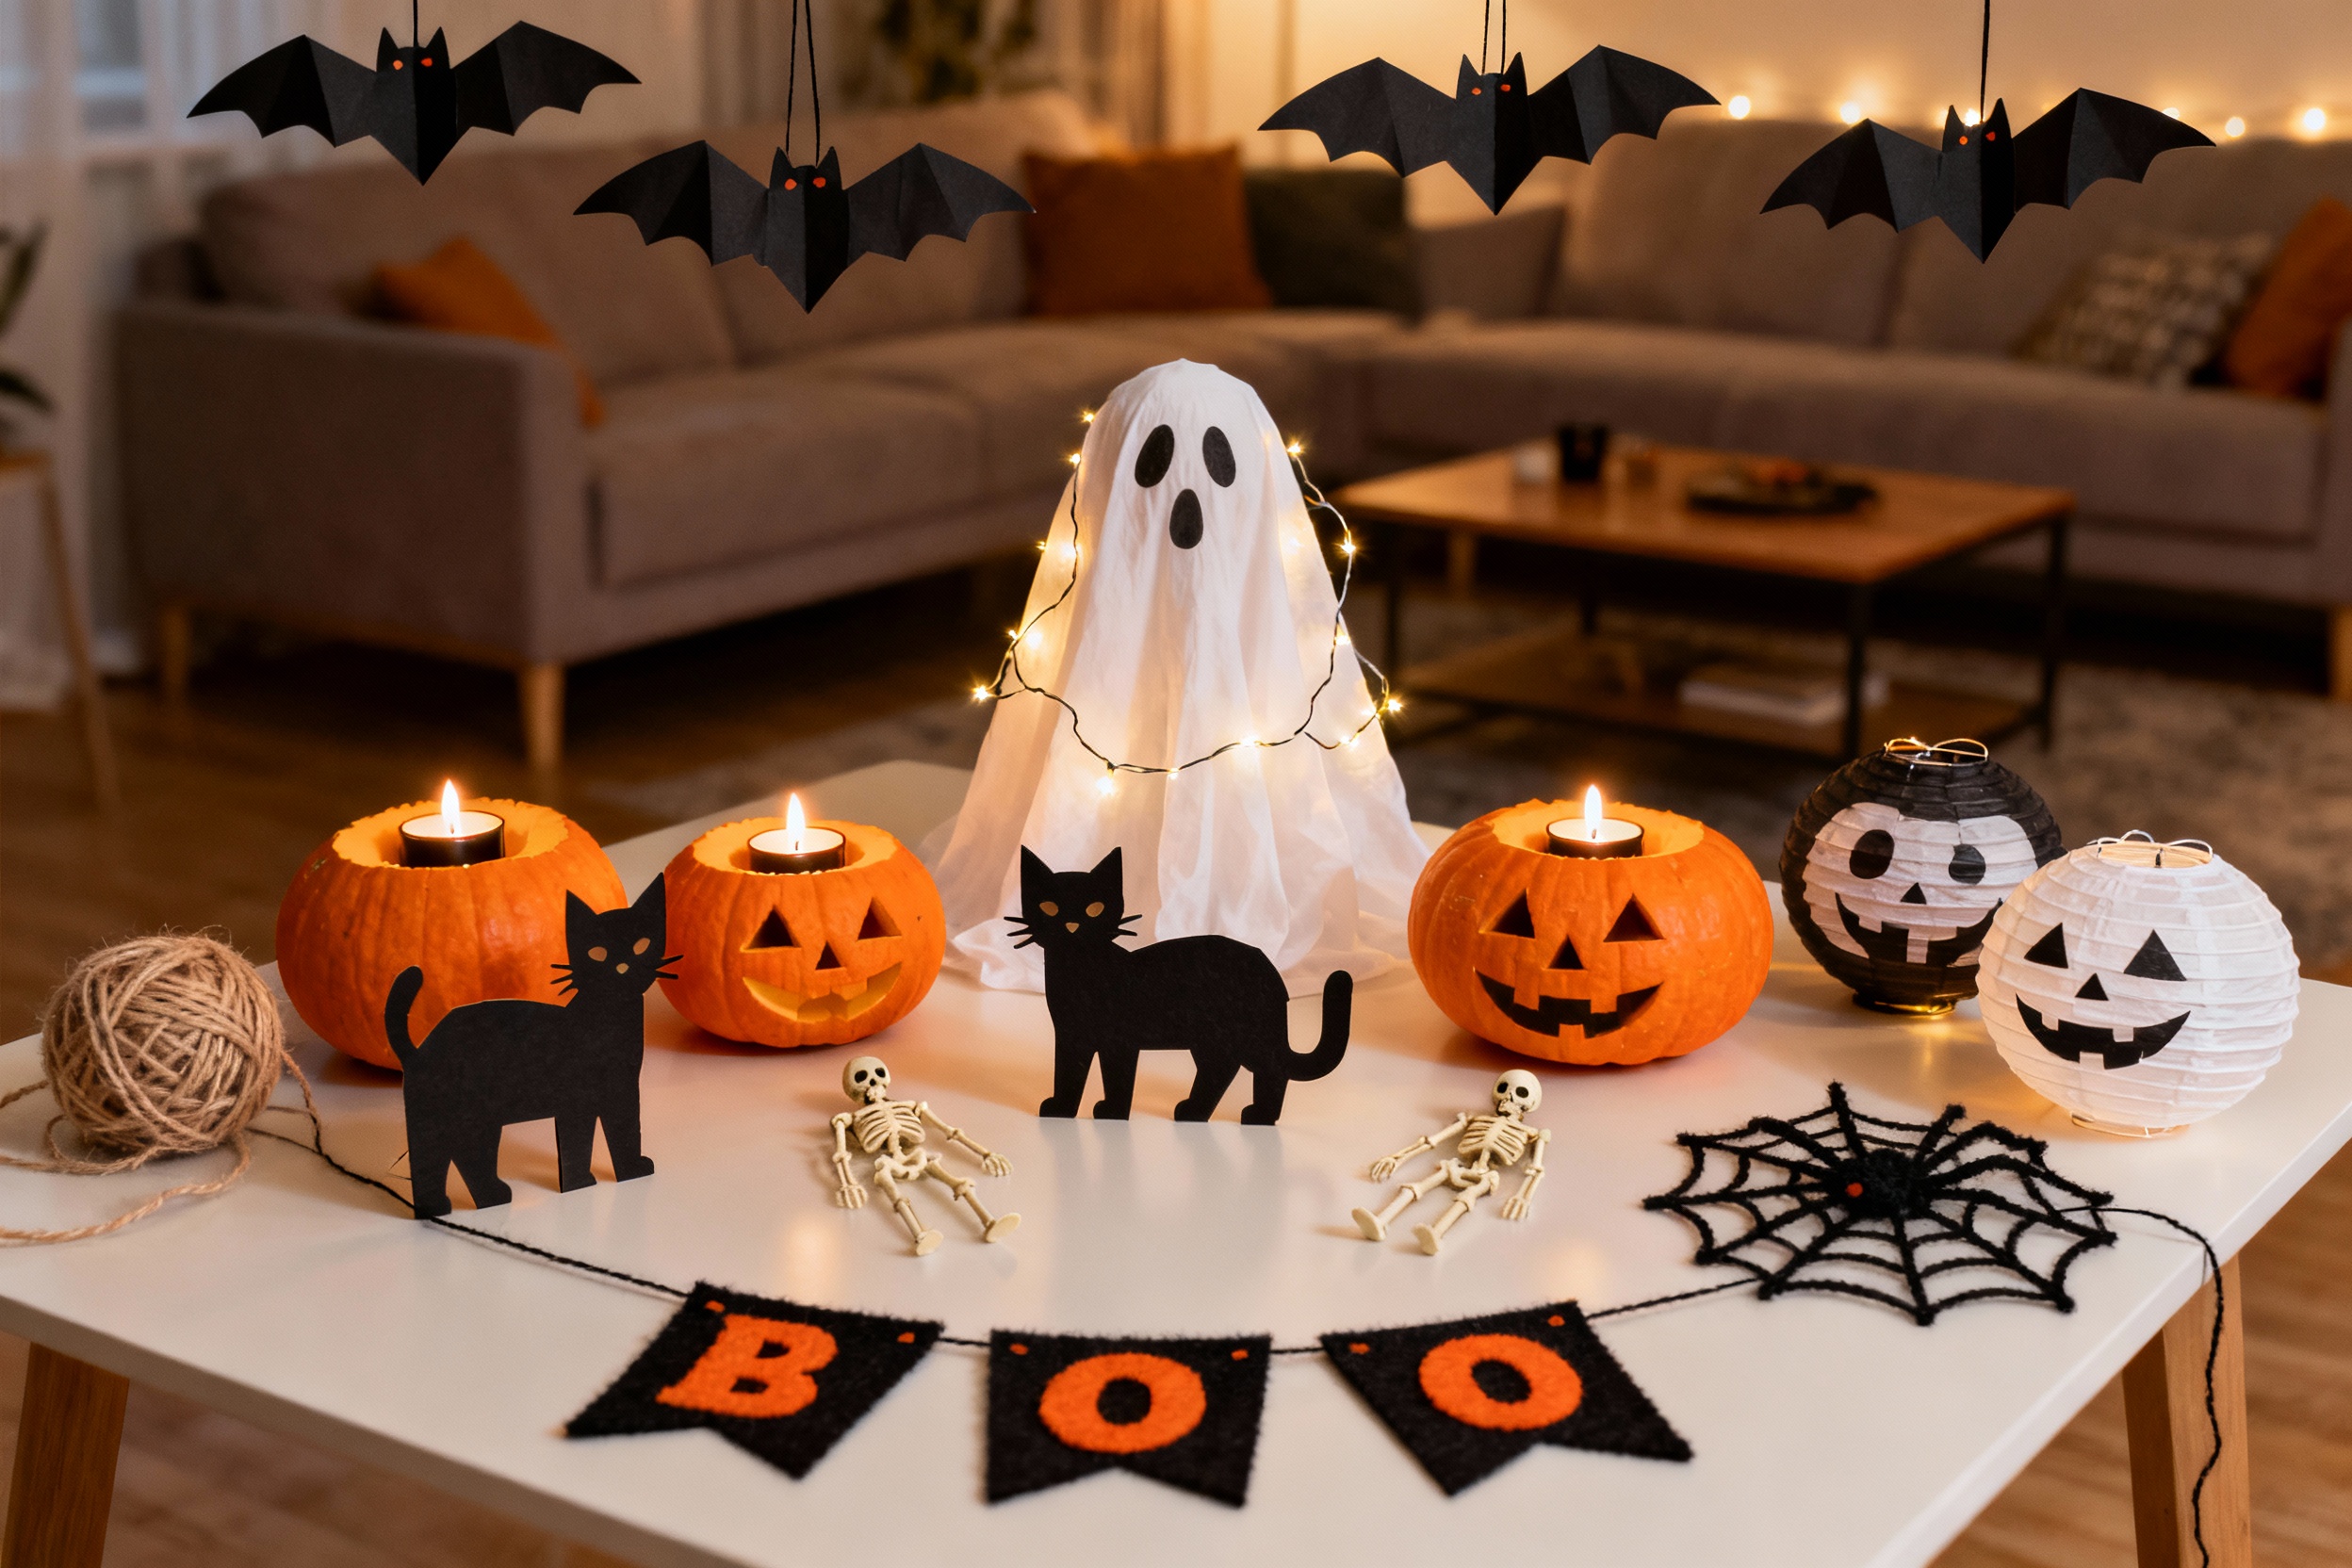
4) Dollar-Store Candles + Paper Silhouettes
Soft lighting = instant Halloween mood. Snag a few cheap pillar candles or LED candles and pair them with black paper silhouettes.
Bats, cats, witch hats—trace a simple shape and tape it to vases, jars, or lampshades.
- Cost: $3–$8 total
- Time: 20–30 minutes for a set
- Safety FYI: Use LED candles if decorations sit close to flame.
Silhouette Ideas
– Bats for the living room – Spiders for the bathroom (you’re welcome) – Tree branches for a shadowy window
5) Pumpkin Alternatives That Don’t Rot
Carving real pumpkins can get messy and pricey. Try these cheaper, no-fuss swaps:
- Painted cans: Rinse soup cans, paint them orange, add black faces. Pop in LED tea lights.
- Paper bag luminaries: Brown lunch bags with cut-out faces.Weigh down with rice or pebbles.
- Balloon “pumpkins”: Orange balloons + black tape for faces. Cluster in corners for a goofy vibe.
IMO: Mix Cute and Creepy
A couple of adorable balloon pumpkins next to ragged drapes? Chef’s kiss.
The contrast makes your setup feel intentional, not random.
6) Printable Bats, Rats, and Haunted Portraits
Your printer can do half your decorating. Search for free printable bats and rats, then cut them out and tape along baseboards, up staircases, or around door frames. For an eerie focal point, print vintage portraits and draw or paste skull features on top.
- Cost: Free if you’ve got paper and ink
- Time: 30–40 minutes cutting and taping
- Pro tip: Keep silhouettes matte black for a cleaner look
Where They Pop
– Stair risers: Rats scurrying upward = low-cost drama – Hallway: Bats “flying” toward a light source – Over the mantel: Haunted portraits in thrifted frames
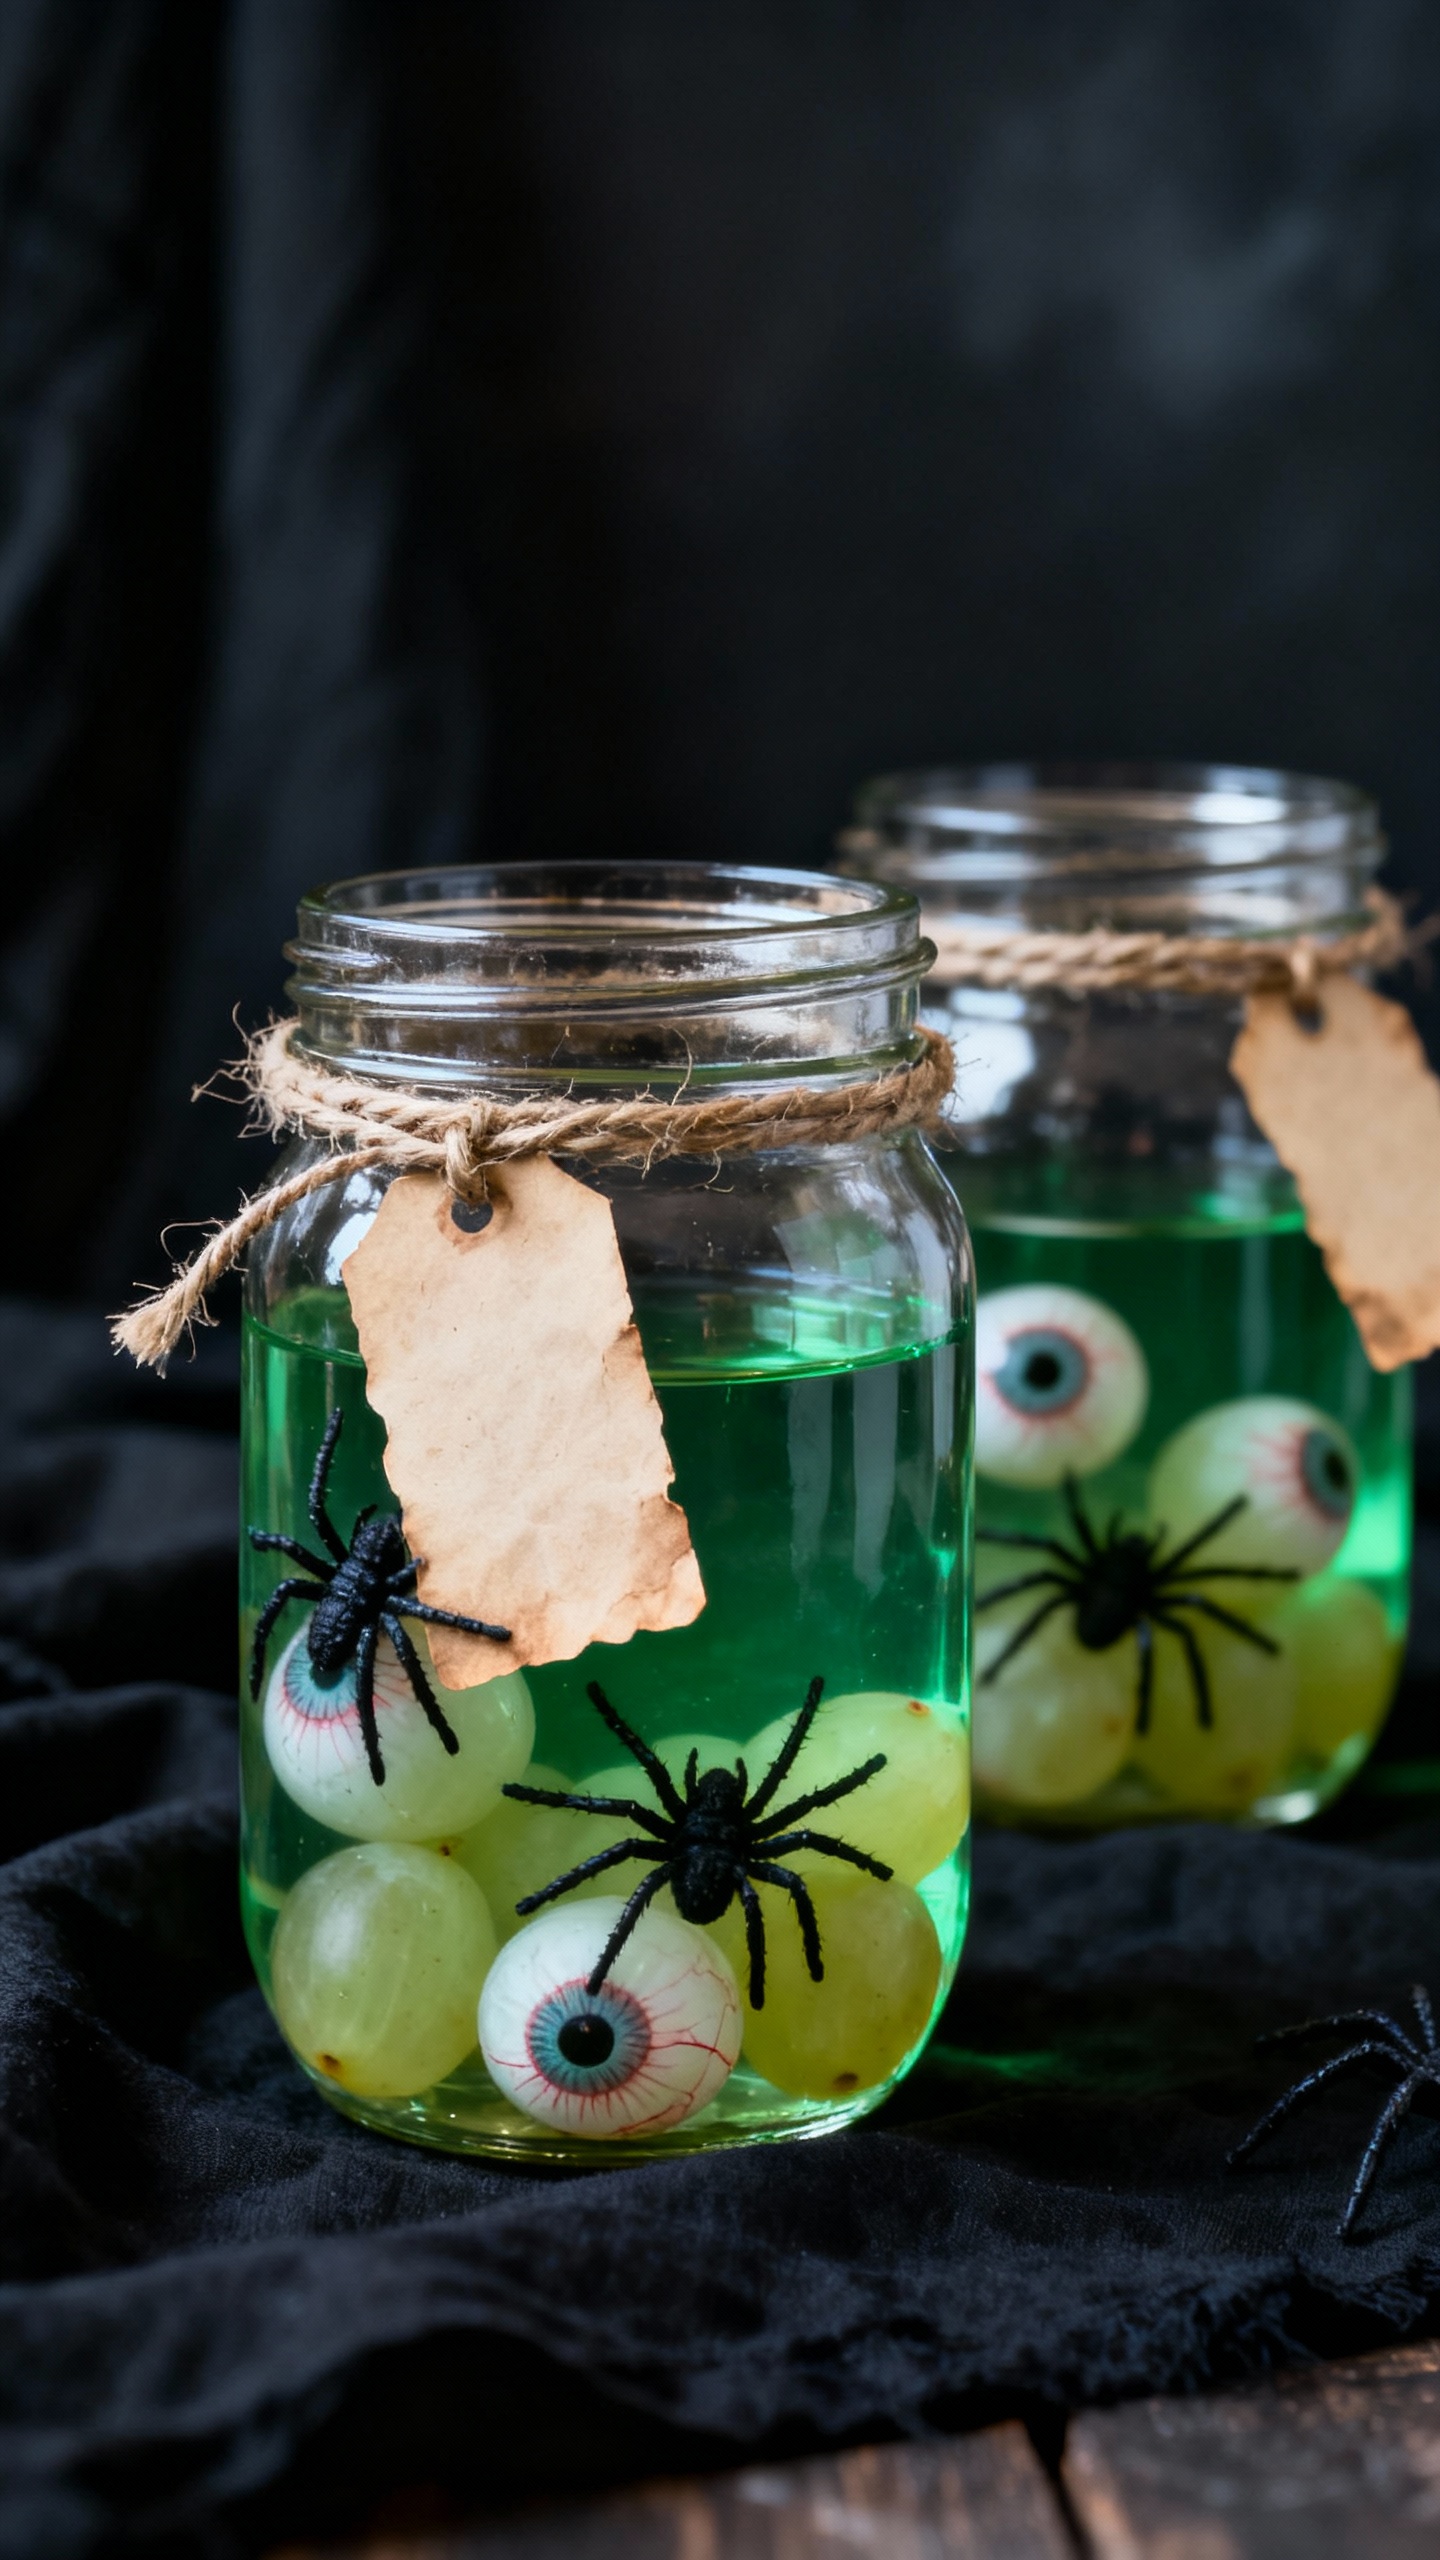
7) Kitchen Jars Turned Creepy Specimens
You know those random jars you never recycle?
Fill them with water dyed slightly yellow or green. Drop in toy snakes, plastic spiders, or even peeled grapes (ew, eyeballs). Label with aged paper: “Nightshade,” “Dragon Eggs,” “Beware.”
- Cost: $2–$6 for dye and fillers
- Time: 15 minutes
- Display: On a tray with a dark cloth for instant “apothecary.”
Make It Look Aged
– Stain labels with tea and singe the edges (carefully). – Wrap jar lids with twine or black tape for a unified look.
8) The $10 Photo Booth Corner
People love a photo spot—give them one without renting anything.
Hang a black plastic tablecloth, layer your trash-bag rags, add a web in the corner, and toss in two props: witch hat and fake bloody sign. Done.
- Cost: $8–$12
- Time: 20–30 minutes
- Tip: Add a colored bulb (purple or green) for instant atmosphere.
DIY Props
– Cardboard speech bubbles: “Boo!” “Cursed!” “Send help!” – Broomstick from a tree branch + twine bundle – Paper fangs and mustaches on skewers
How to Make It All Cohesive (So It Looks Planned)
You can buy ten cool things and still end up with chaos. Tie everything together with a simple plan:
- Pick a palette: Black + one accent (orange, purple, or green).Stick to it. Your decor will look polished, IMO.
- Repeat motifs: Bats everywhere? Great.Spiders everywhere? Also great. Mixing too many themes can feel noisy.
- Control lighting: Swap bright bulbs for warm white or colored bulbs.Use more lamps, fewer overheads.
- Layer heights: Hang items up high, place decor at eye level, and anchor with low pieces (luminaries, rats, jars).
Cheap Supplies Checklist
You don’t need everything—start with what you have and fill in the gaps.
- Essentials: Black trash bags, tape, scissors, string/fishing line, paper, markers
- Nice-to-haves: LED tea lights, plastic spiders, balloons, yarn, food coloring
- Thrift finds: Frames, jars, old lampshades, mismatched candlesticks
Quick Setup Timeline (If You’re Hosting Tonight)
Running late? Same. Here’s the speed-run:
- 5 minutes: Swap bulbs for warm/colored light and dim the room.
- 10 minutes: Drape trash-bag rags over the entry and a main window.
- 10 minutes: Tape a big web on one wall and add a few spiders.
- 10 minutes: Print/cut bats and tape them along a hallway.
- 10 minutes: Make three specimen jars for the snack table.
- 5 minutes: Cluster candles/LEDs, kill overhead lights.Boom—ambience.
FAQ
How do I decorate a small space without cluttering it?
Focus on vertical elements: doorways, windows, and one feature wall. Keep floors clear and pick one motif—like bats or webs—to repeat. Use lighting to do the heavy lifting and make everything feel intentional.
What’s the cheapest decoration that gives the biggest impact?
Painter’s tape or yarn spiderwebs win, hands down.
They’re bold, quick, and cover a lot of wall space. Pair with a few plastic spiders and you’re golden, FYI.
How can I make store-bought decor look less “cheap”?
Stick to a color palette and avoid shiny plastic when you can. Matte black spray paint rescues almost anything—frames, plastic skulls, even candle holders.
Group items in threes for a more styled look.
Any lighting tips that don’t cost much?
Swap one bulb for purple or green and use lamps instead of overheads. Scatter LED tea lights on shelves and inside jars. Light from below when possible—it casts deliciously creepy shadows.
Can I pull this off last-minute?
Absolutely.
Cut rags, tape a web, print bats, and cluster candles. That’s your bare-minimum “party-ready” kit. Add a photo corner if you’ve got 20 extra minutes.
IMO, momentum beats perfection every time.
Conclusion
You don’t need a giant budget to nail the Halloween vibe—you just need a plan and a roll of trash bags. Stick to a palette, repeat a few motifs, and let lighting do the drama. Throw in a web, a ghost or two, and some “specimens,” and suddenly your place looks haunted on purpose.
Now dim the lights, queue the playlist, and let the cobweb compliments roll in.


